
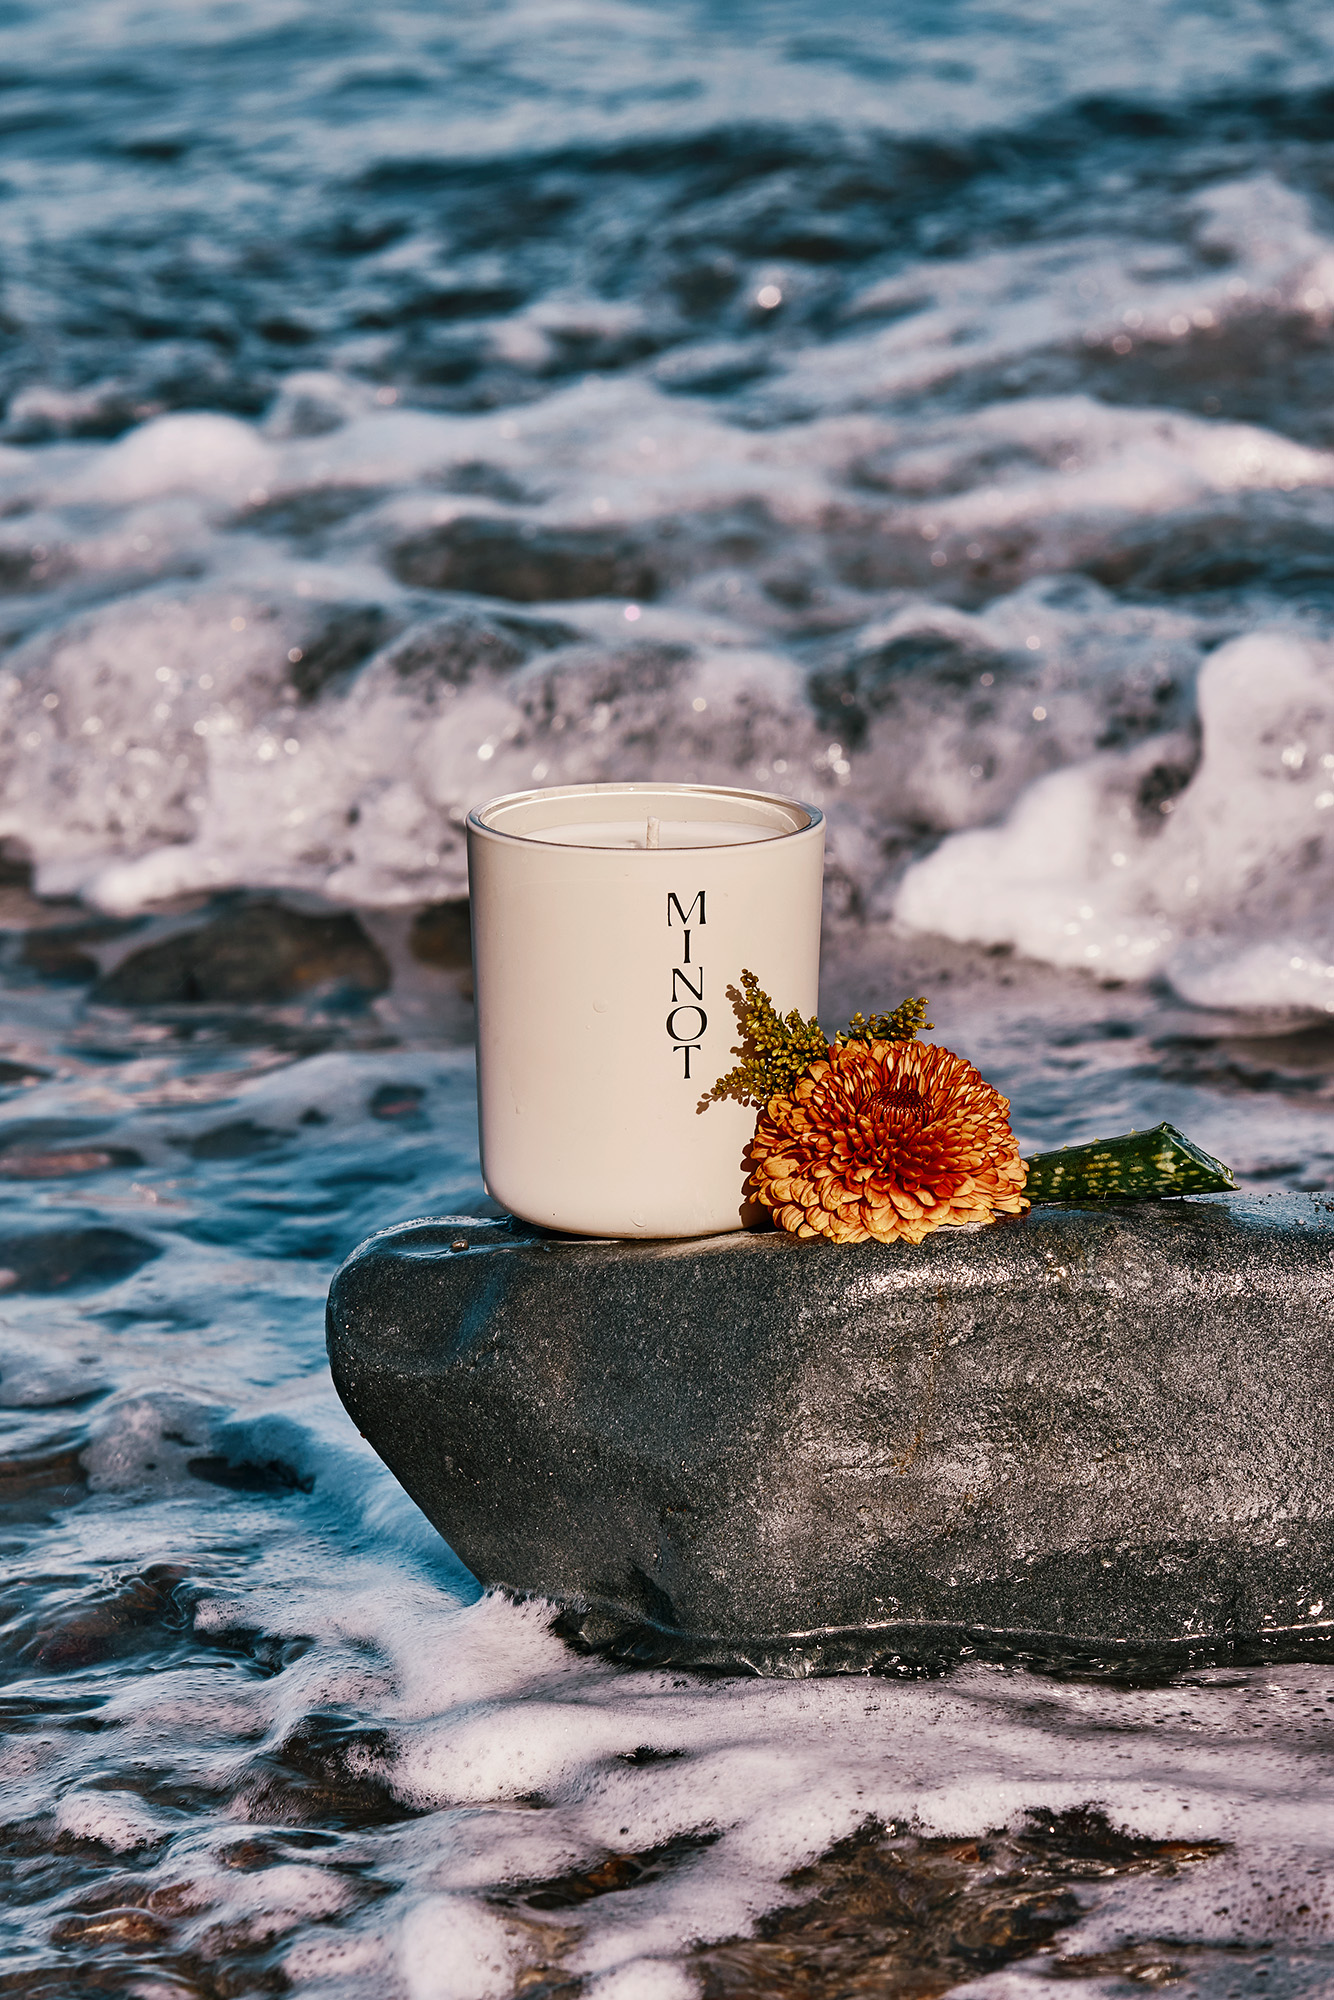
You finally found the perfect candle. Not only does it smell completely intoxicating, it also looks incredibly chic set against your home decor. Needless to say, you want it to last forever—or at least as long as possible. Here are five easy ways to maximize your candle’s burn time for ultimate enjoyment.
Perfect the First Burn
Your candle’s first burn sets its lifetime memory, so to avoid tunneling, it is imperative that the entire top layer of wax melts to the edge’s of the vessel before you extinguish the flame. Waiting patiently for the candle to reach this point will subsequently encourage it to burn evenly light after light.

Trim the Wick
If a candle is burning at an excessively high temperature, it will melt too quickly. Trimming the wick to approximately ¼ inch before each burn will help foster a longer burn time, so you can savor its scent. Whether you use regular scissors or a dedicated wick trimmer is up to you—just be sure the wick is fully dry before you cut it!
Avoid Fans and Vents
You should always keep your candle far away from any fans or vents. Not only can a gust of air extinguish your candle’s flame completely, it can also cause it to flicker. While a small flicker may seem inconsequential, it can actually trigger the entire candle to burn unevenly, minimizing its lifetime.
Limit Your Burn Time
Your candle shouldn’t be left to burn for longer than four hours at a time. Though tempting, exceeding this time window can cause your vessel to overheat and burn too quickly. It’s also likely to prompt an off-center movement of the wick, which will create an unbalanced burn.
Choose Soy Instead of Paraffin
Not only does paraffin wax (made from petroleum by-products) emit black soot and toxic fumes, it also burns very rapidly. In fact, it burns 30-50% faster than its clean counterpart, soy wax. Making the switch from paraffin wax to soy wax is better for the Earth and your wallet.

Dedicated to following these steps with your new candle, but have a lopsided candle from the past you’d still like to fix? This technique is a tried-and-true favorite. All you’ll need is the candle in question, a long lighter, and a piece of aluminum foil.
1. Place a piece of aluminum foil over the unlit candle’s top.
2. Create a hole in the middle of the aluminum foil, so the candle’s smoke has a place to escape.
3. Carefully light the candle with a long lighter through the hole in the aluminum foil.
4. Allow the candle to burn until its top layer of wax has completely melted to the vessel’s edges.
5. Extinguish the candle’s flame, preferably with a candle snuffer to prevent wax spatter and reduce smoke.
6. Once the candle has cooled, remove the aluminum foil to expose an even top layer of wax.
Et voilà! You’re essentially a candle connoisseur.
Shop the article


Read more

INSPIRATION
5 Ways to Maximize Your Candle’s Burn Time
You finally found the perfect candle. Not only does it smell completely...

INSPIRATION
A Southern Italian Easter Feast & Giveaway With Pasta Evangelists
We’ve teamed up with Pasta Evangelists, who deliver restaurant-quality pasta...

INSPIRATION
Our Q&A and recipe from plant passionate advocate Bettina Campolucci Bordi
Bettina Campolucci Bordi is a self taught chef, author and Founder...

INSPIRATION
Women of Wolf & Badger: A Q&A With Barbara Klekowska, Head Of Studios
At Wolf & Badger, we’re doing more to champion equality and inclusivity....

INSPIRATION
Smart Braincare: A Q&A with Heights Co-Founder, Dan Murray-Serter
Braincare brand Heights believe that a healthier brain leads to a better...