


INSPIRATION
Mabes Makes: Easy Cheese Scones
A mouth watering, easy cheese scone recipe. Perfect served warm with butter....

Hello, I’m Michelle, the artist behind Misheo, specializing in illustrated nature themed scarves and art prints. In this mini tutorial, I will describe my process for one of my watercolor paintings. For this painting, the supplies I used are:
Pencil
Illustration board
Artist grade watercolors
Round watercolor brushes in various sizes
The first and very important step is to gather inspiration. Having subjects that inspire me keeps me motivated as I draw and paint. I personally think that keeping motivated helps the outcome of the final painting turn out better. For this watercolor painting, I was inspired by the red winged blackbirds I saw in a local bird sanctuary. There is something majestic about their beauty! So I decided to pair them with some of my favorite coral peonies. I chose these flowers for the painting because the light pink contrasts well with the dark colored birds, allowing the birds to stand out.
Once I have decided on my subjects, I begin with some small sketches on paper to test out the composition. For this artwork, I chose to make a triangular composition with the birds. A triangle is one of the strongest compositional shapes, and helps guide the eye around the picture without leaving the frame. Now that I have finalized the composition, I begin to make a pencil drawing on illustration board. Illustration board is a good choice for small paintings as it is thick enough so it doesn't warp too much when water is applied. It is important that the pencil drawing is applied lightly, so it can be erased later on.
I draw in as much detail as I can with the pencil. When I am satisfied, I will start applying color. I start first with the pink peonies, laying down washes of pink, from light to dark, on the paper. I make sure to let each layer of watercolor wash to dry before putting on the next darker color.
After I am finished painting the flowers, I start working on the color for the birds. This was an exciting part of the painting for me, because I start to see the painting come to life. I actually did a lot of research on the anatomy of the blackbirds beforehand, so they would look believable in my painting. For each bird, I again use my brushes to lay down watercolor washes from light to dark, being careful to preserve the details such as in the feathers.
At this point, all of the subjects have been painted! I look at the painting one more time, and add some darker colors where I feel that the painting needs more contrast. After that, I can frame my painting and digitize it to make my art prints!
The finished piece:
INSPIRATION
A mouth watering, easy cheese scone recipe. Perfect served warm with butter....
INSPIRATION
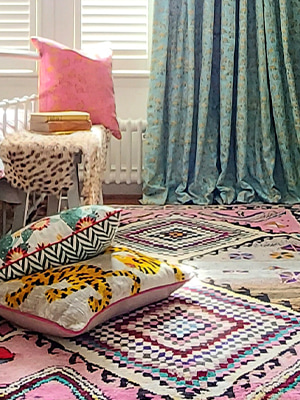
As an expat child, I bounced from country to country, picking up interior...

INSPIRATION
British designer, artist and member of our Wolf & Badger...
INSPIRATION
Lucrezia Worthington is a freelance travel journalist, social media manager...
INSPIRATION
I have been hearing a lot of whispers of the roaring 20’s post-pandemic...