
As an artist, my home has never felt complete without a gallery wall. It’s the perfect opportunity to transform a space and showcase your personality by bringing together all your favorite pieces. Although you can find a ton of inspiration on Pinterest, sometimes it’s a little daunting to know where to begin with your own gallery wall, so here are some tips that should help you.
Where should I put my gallery wall?
Anywhere! You can either use a gallery wall to create a focal point within a room, such as a main wall in the living room, or liven up a mundane wall like on the stairs or in a hallway.

How do I know what pieces to choose for my gallery wall?
Once you have picked the space in your home, you can start collecting your pieces. This is your chance to be your own gallery curator! Building up this collection should be enjoyable, so take your time to find pieces you love. And remember:
- For a fail-safe blend of images, I suggest starting with a broad theme such as a color tone or frame color to ensure they look harmonious.
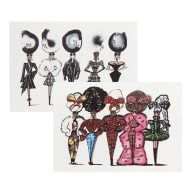
- Be careful to choose a combination of landscape and portrait orientation to create a lovely balance.
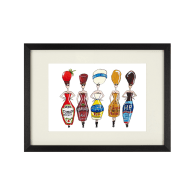
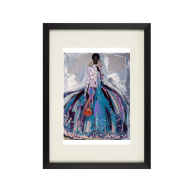
- Lastly, don’t be afraid to mix and match mediums. Not every image needs to be art in the traditional sense; select pieces that evoke pleasure and this can be any combination of photography, typography, prints, or more traditional artwork. You can even add some personal photographs to the mix.

How can I plan the layout of my gallery wall?
So, you have done your shopping and have your personally curated exhibition. To work out the perfect layout, measure the wall space accurately and mark out the area available on the floor (I do this with masking tape!).
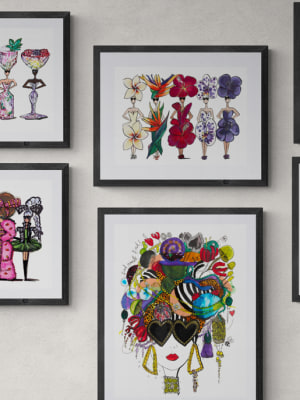
There are a couple of options for placement - either a uniform style or a random scatter. The alignment of frames either linearly or to the top and bottom of your space can look great but will be a little harder to hang precisely, so you may feel more comfortable with a scatter pattern if nervous about the hammering!
Next, lay out the frames on the floor. I suggest starting with the largest frame towards the middle of the space but off-center, and this will help give you an anchor for the remaining collection. Move the pictures about until you perfect the formation and snap a photo to help remember the layout.

Hammer Time!
There are a lot of holes required for a gallery wall, so if you feel unsure, either call in the professionals or these tips should help:
1. Outline each image on paper and label them.
2. Ideally use D-rings for hanging rather than strung frames as it’s easier to be more precise.
3. Measure the holes from the D-ring to the top of the frame and then mark these on the paper template for ultimate accuracy.
4. Stick the paper templates onto the wall in your chosen layout.
5. Finally, you can now hammer right through the paper.
And now you can sit back and enjoy your own curated gallery!
Shop the article


Read more
REPORTS
How To Create A Gallery Wall At Home
As an artist, my home has never felt complete without a gallery wall. It’s...

REPORTS
Why Is My Skin Sensitive?
Recent studies show that almost 50% of the population now has sensitive...

REPORTS
The Psychology Of Winning
We all like to win, against ourselves or others. And wins can be big or...

REPORTS
The Truth About Working As A Superyacht Chef
I had just graduated from university with a degree in Mathematical Science...

REPORTS
The Best London Coffee Shops That Need To Be On Your Radar
London’s coffee scene has been brewing for years with a new coffee shop...